The Notion Guide for Beginners: Make a To-Do list
Notion has a variety of things that users can dabble with to understand as to whether Notion provides the 'thing' that users need for their projects. Today's blog post is only focused on giving 'beginner friendly' tutorials so that they can get a head start in the world of Notion.
Dipping Your Toes
Before jumping straight into Notion, it might be a good idea to assess what you'll like to do in Notion to better understand its capabilities and limitations. Like every other productivity app, it has its own limitations too.
Let's start with something simple. Perhaps, a To-do list. Obsidian, Microsoft OneNote have functions like that. Likewise Notion can do that to! However, the one thing that stands out from the rest of the other apps is being able to drag, drop and curate to your liking. Notion uses blocks (text, images embeds) to craft and consolidate everything into a page.

Opening up a Notion page
firstly, let's open up a notion page. On the left hand side, left click > add a page you should see something like this:

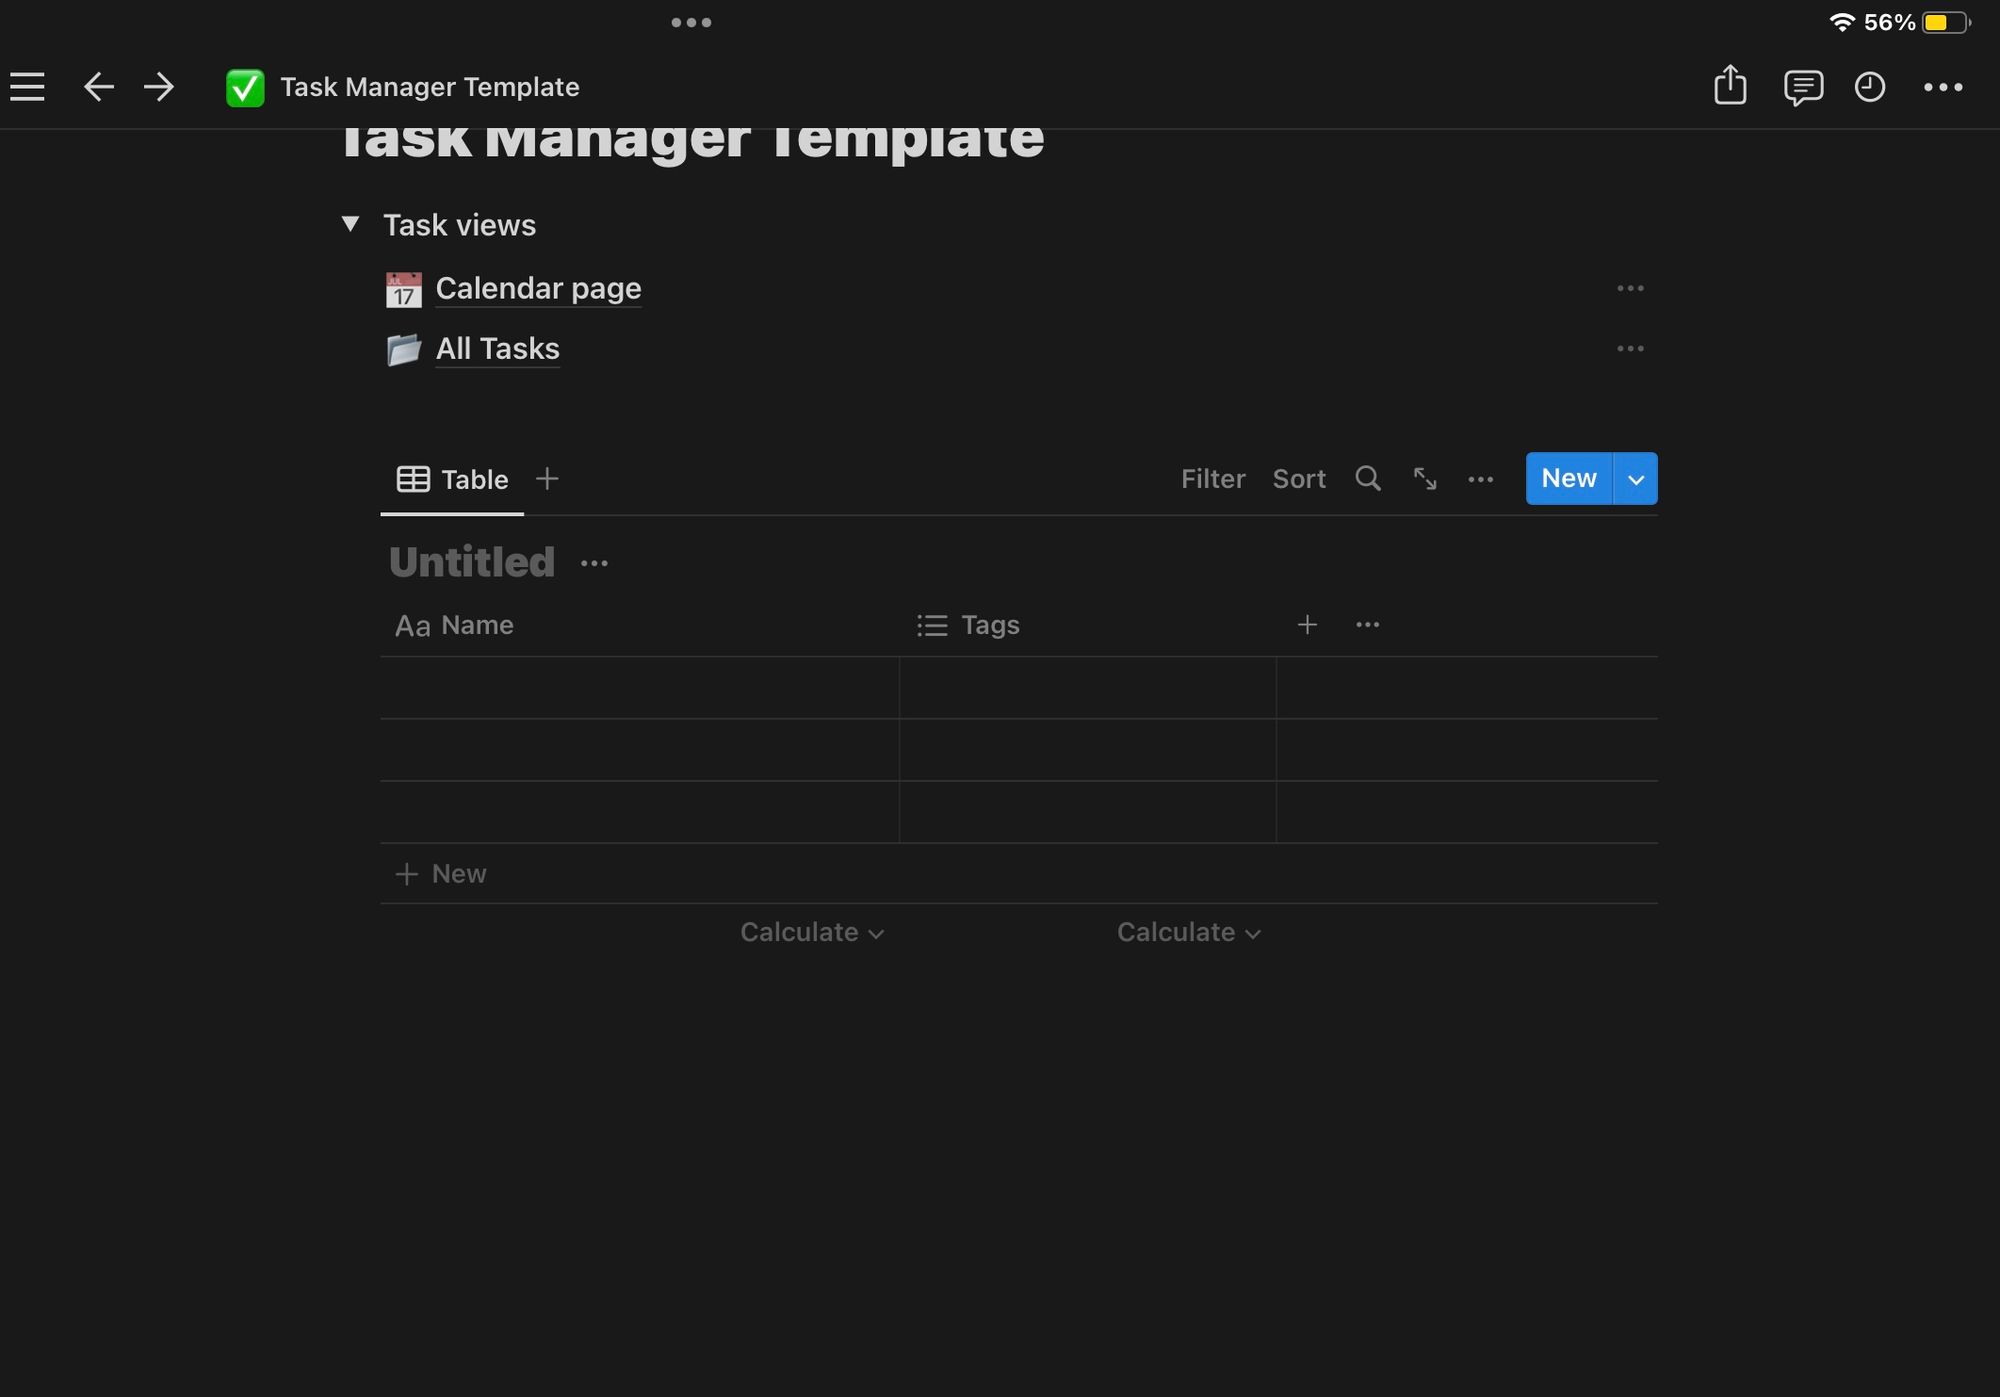
Database > table
use your cursor to hover under database> left-click >table you should see something like this:
Board Layout
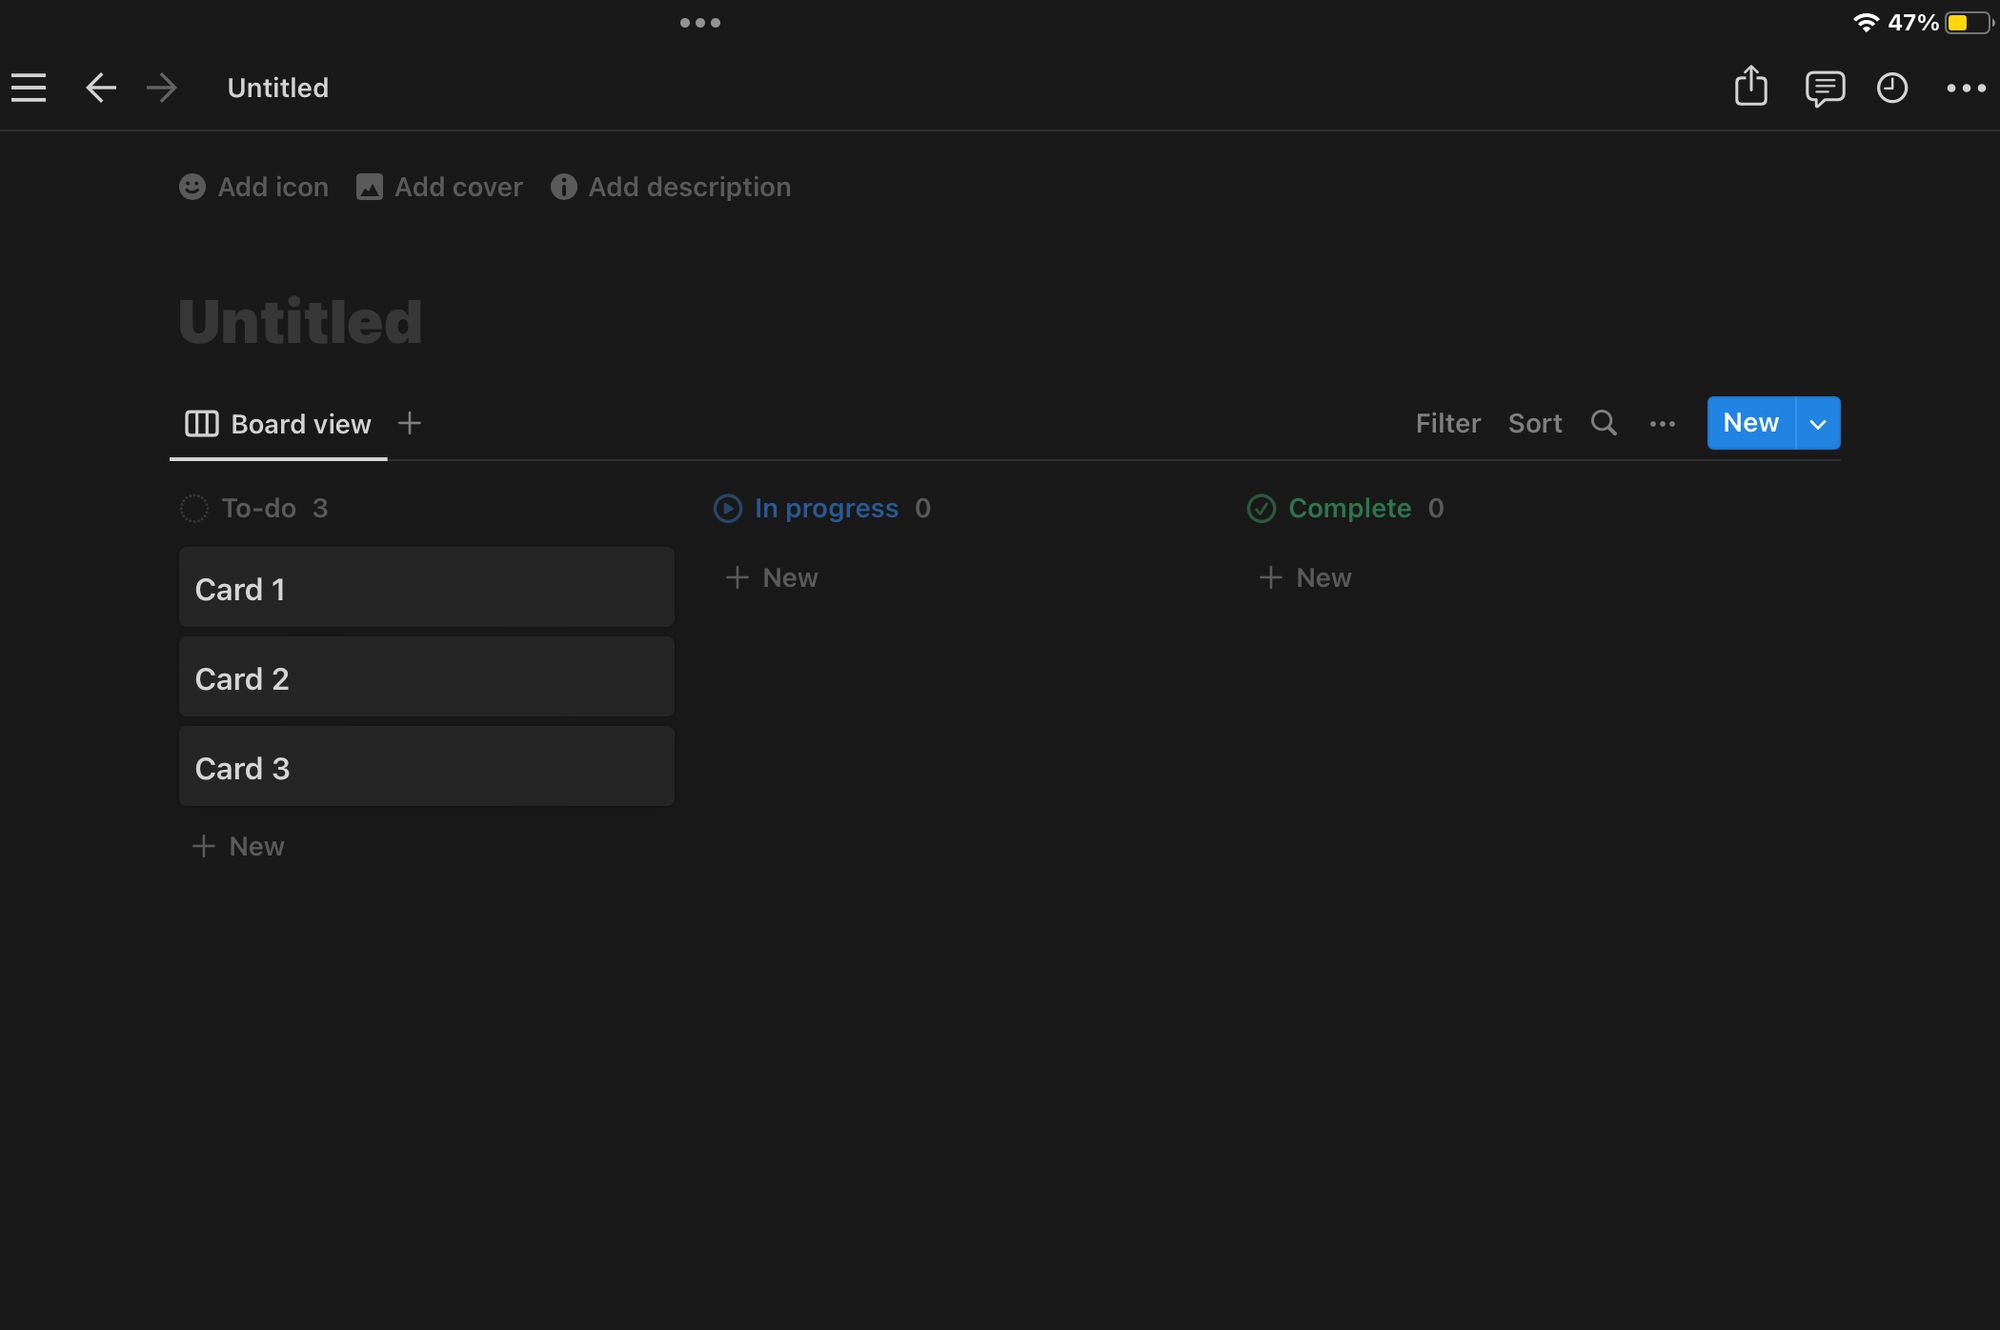
On the Right side, click the 3 dots next to the <New button> go to layout > board.
Rename Board View
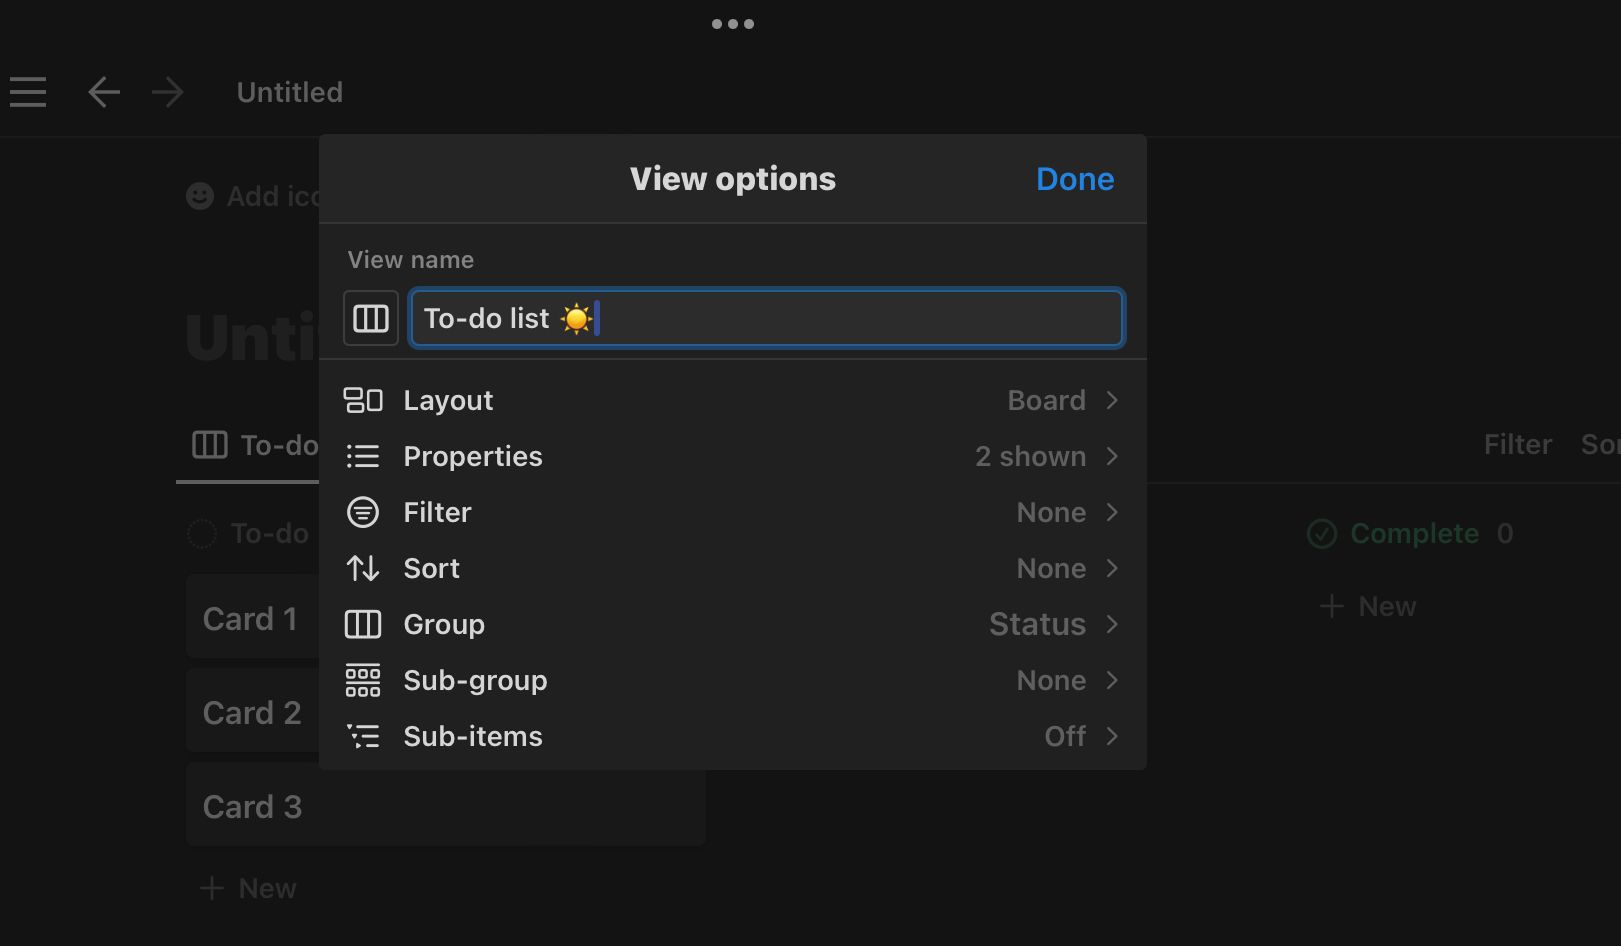
Left click on Board View > Rename view to 'To-do list'
Groups and properties
Groups and sub groups in Notion play an important role within the view that you're working on. Their simply values within your database propeties.
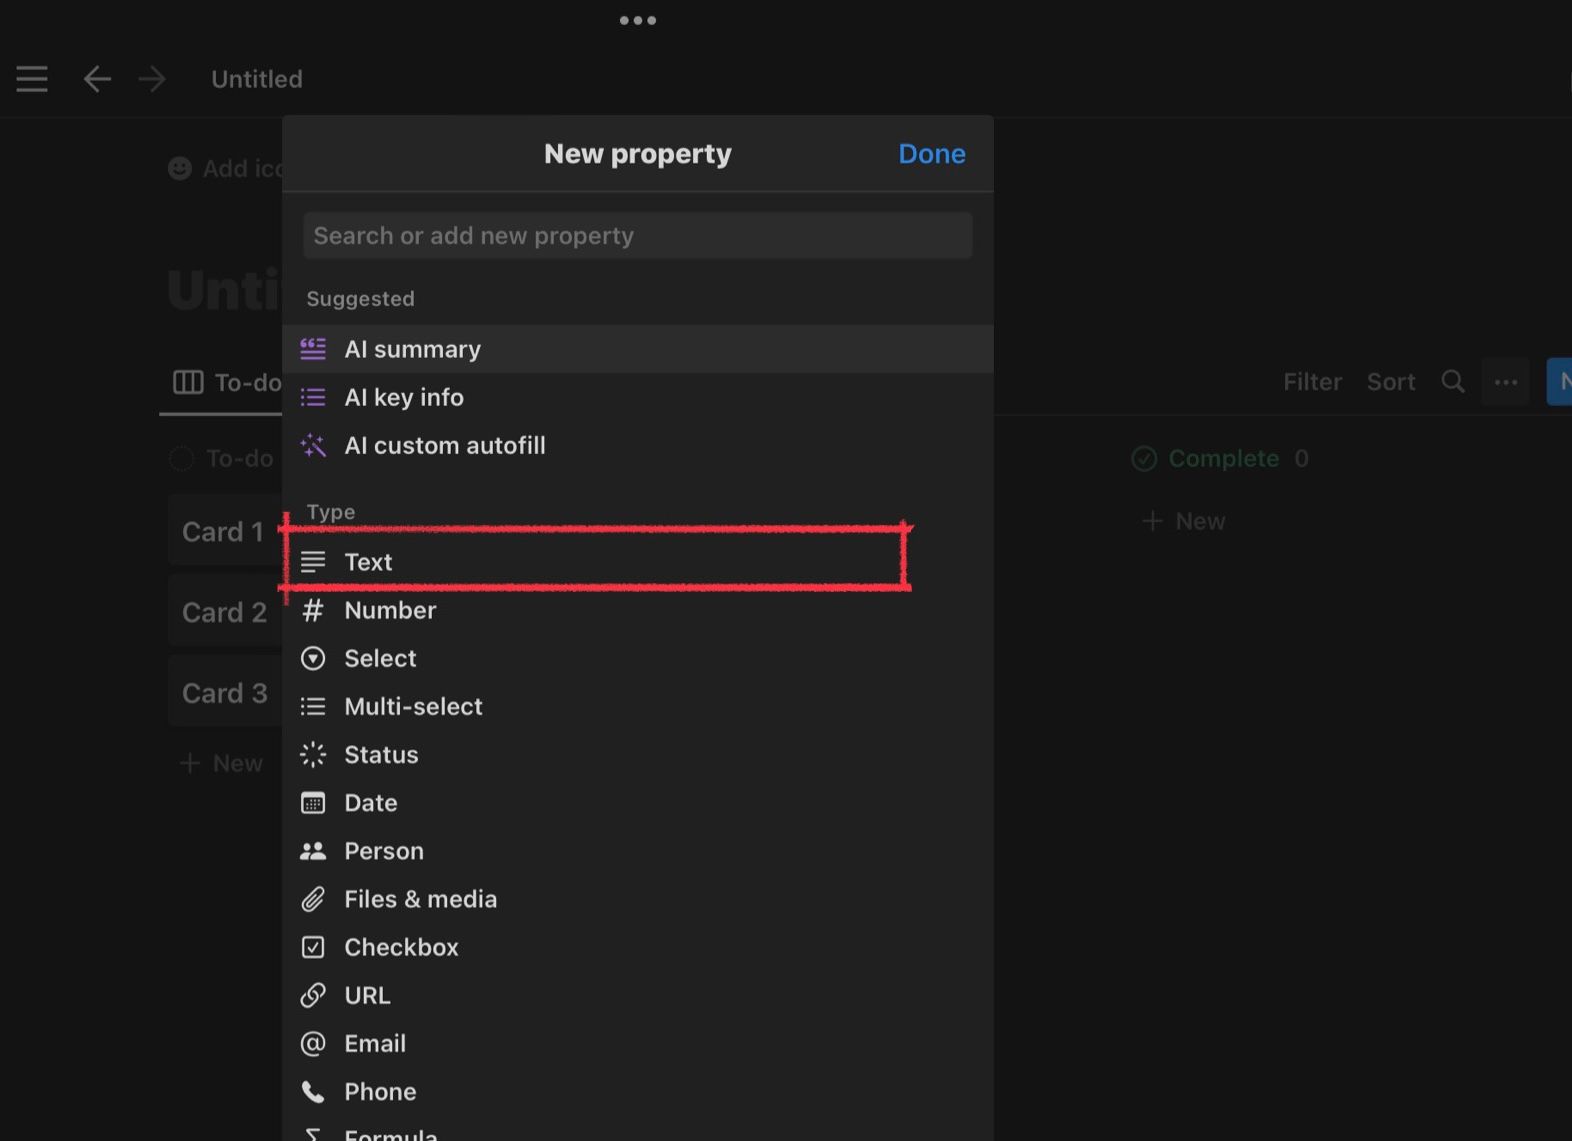
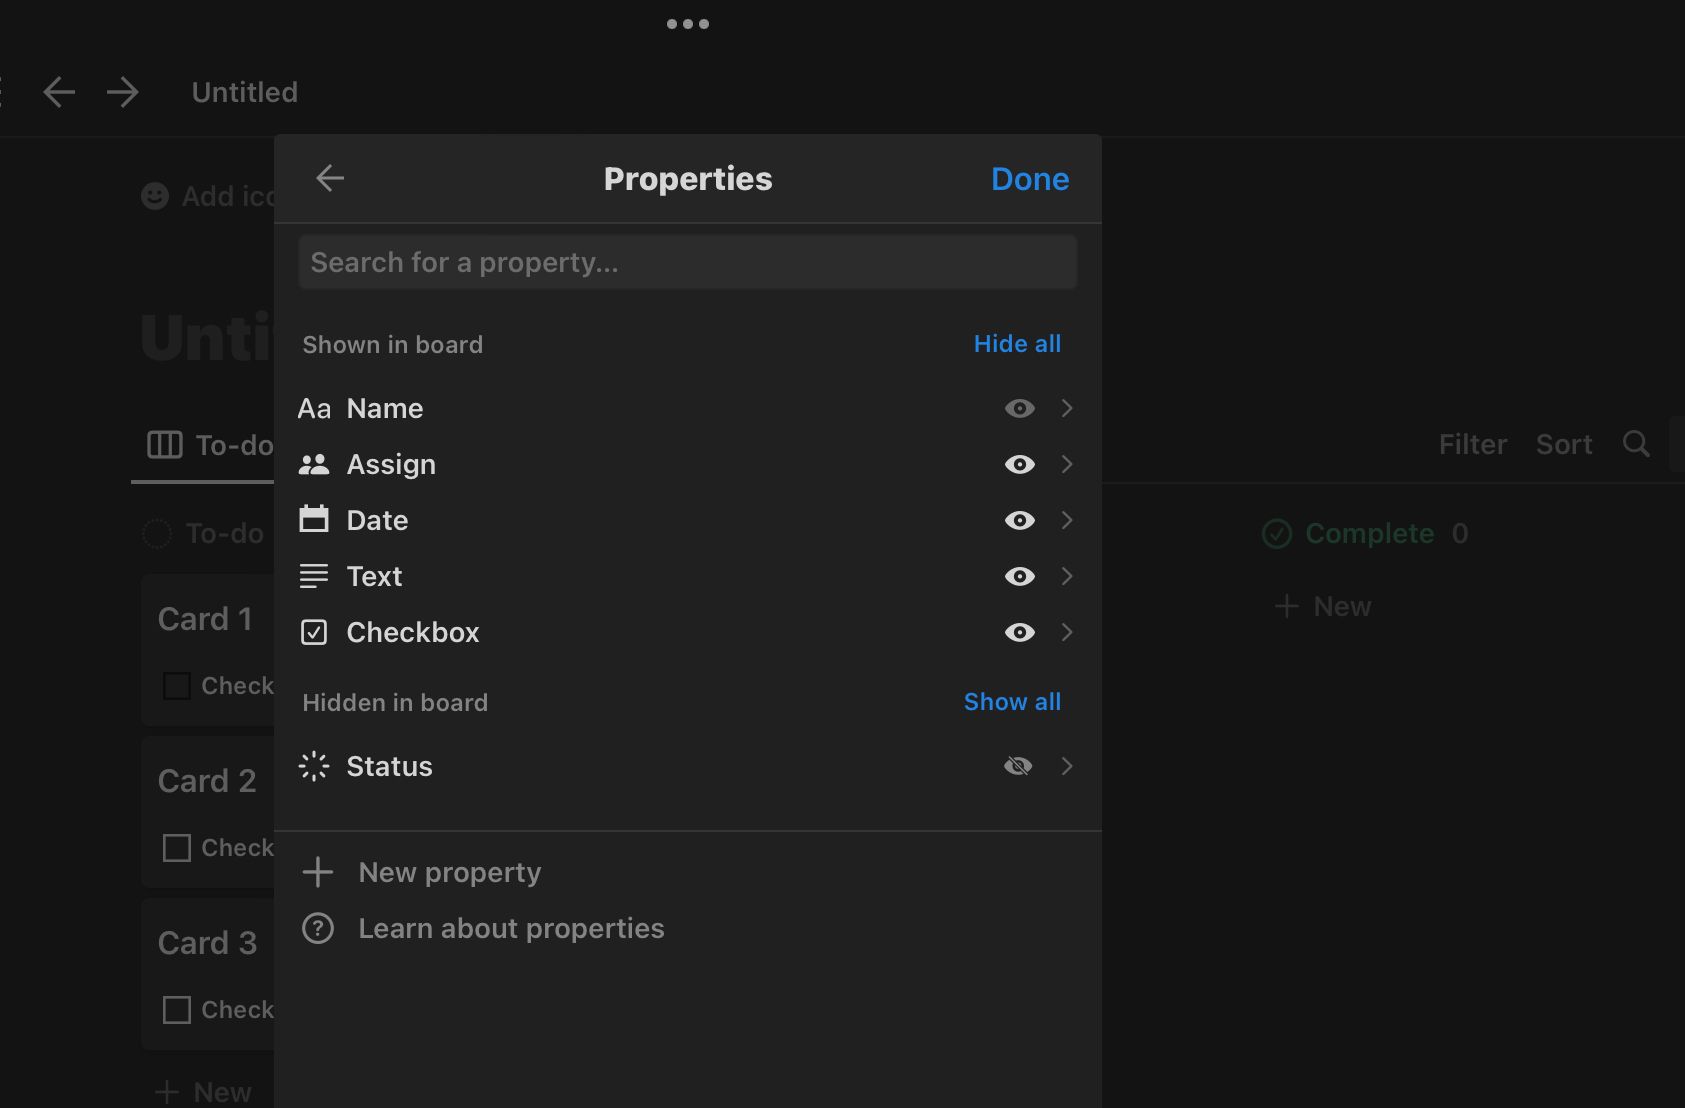
Again, hover your mouse over to the 3 dot and left click it. Go to properties > text and rename it to 'Date' and change the text icon to the calendar emoticon.
Again, click on 3 dots next to <New button> go to Group > Group by > Set Property to 'Date'
Do the same thing with Sub-group but instead set Property to Checkbox.
Adding elements
This is the fun part. You get to start adding new elements to the group. You can customize the layout to your liking.
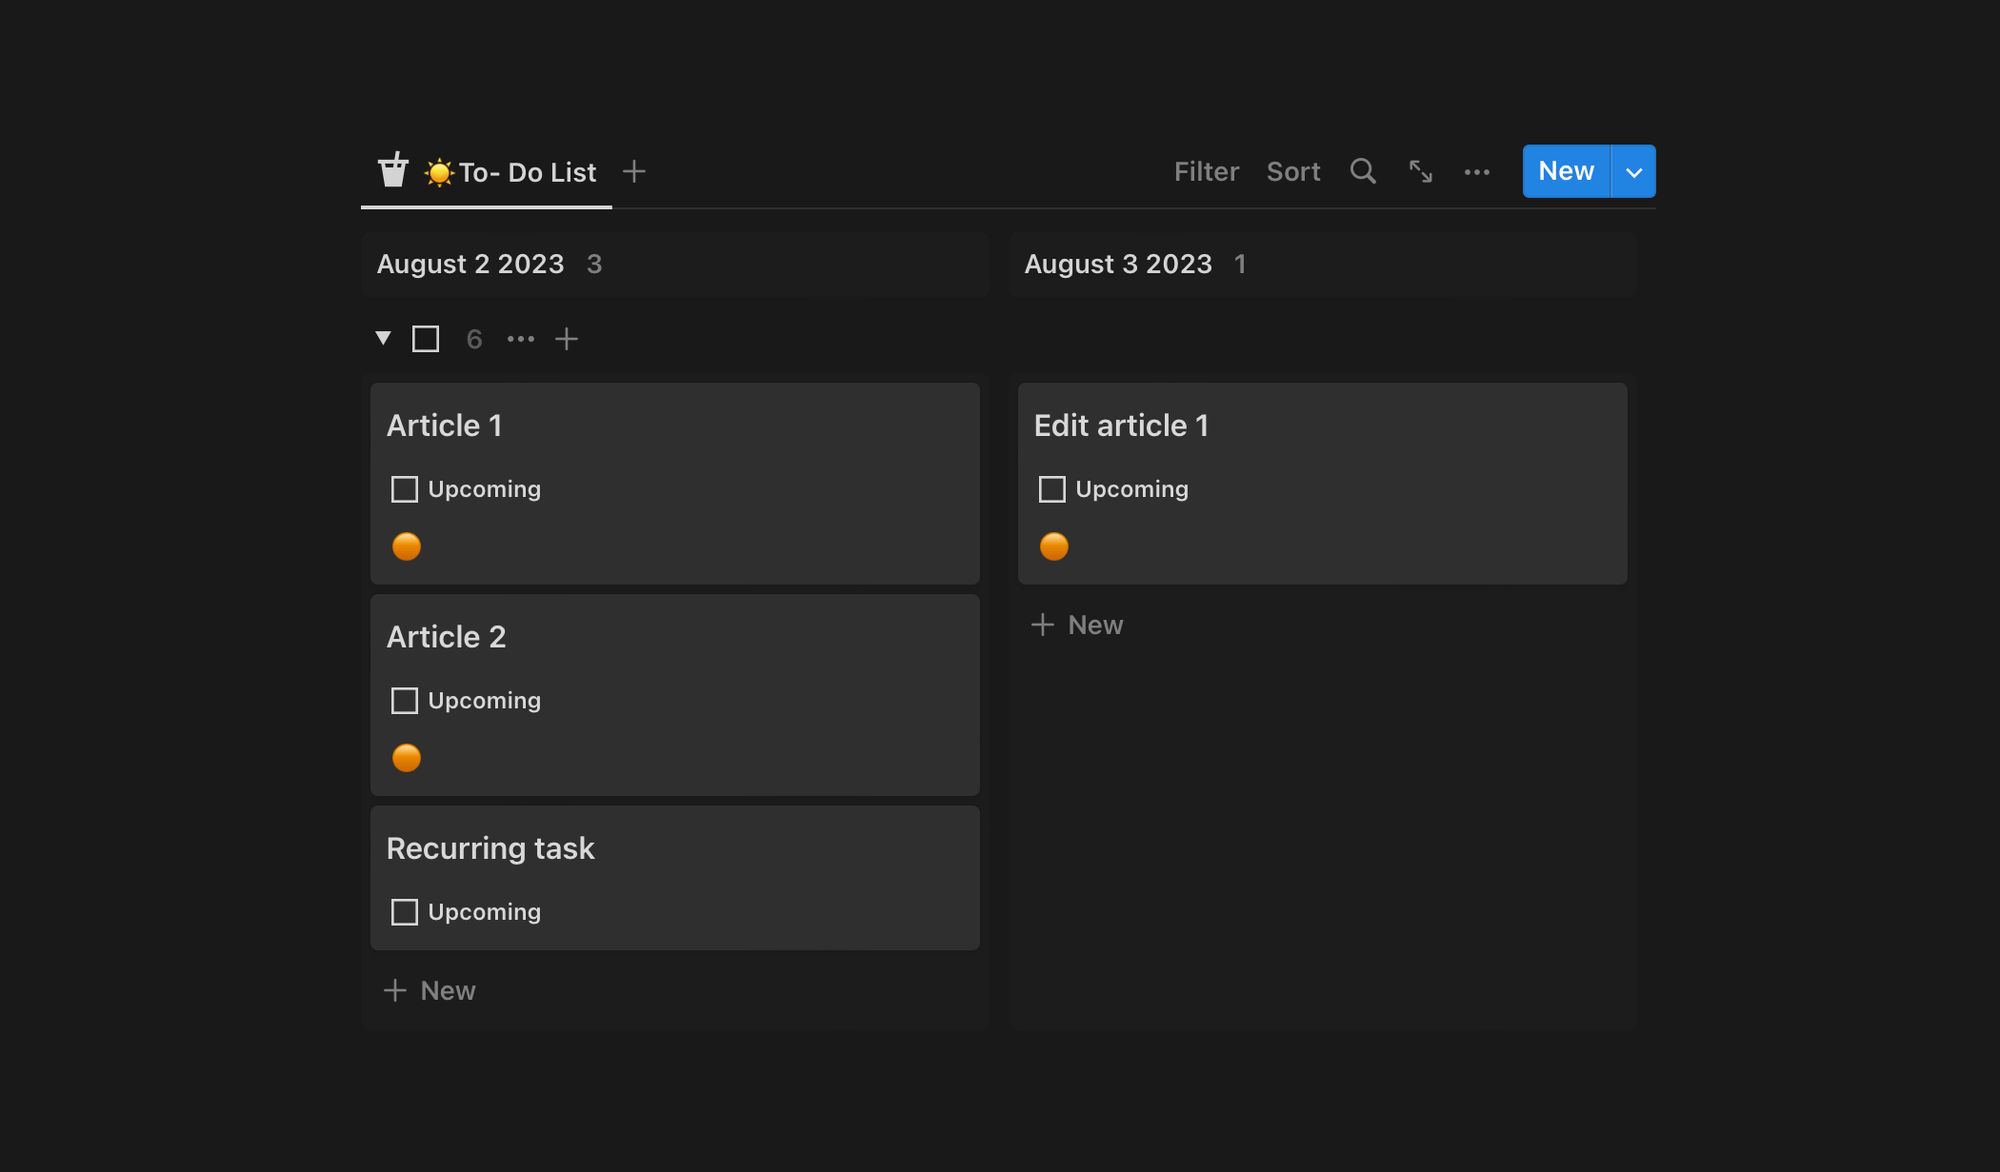
I decided to keep my Kanban To-do list simple since I'm all about being minimal as possible. In the end, it's all about whether it supports your needs.